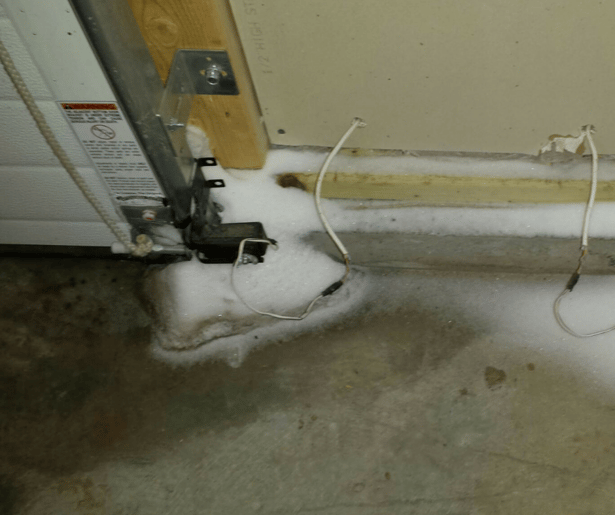
Your garage door is like a giant, movable wall in your home. To keep it weather and water-tight, you need to make sure your garage door fits snugly to the ground. Is your garage seal working properly? Whether you have a relatively new garage door or your current door has been installed for years, the attached rubber gasket at its base will likely be the first place where weather will take its toll. Ice formation, leaves, extreme heat, and salt accumulation can cause the seal to deteriorate. Here's how to repair your garage door seal.
1. Measure the garage door for the length of gasket needed.
You'll need to get the measurement of the width, height, and thickness of your garage door to find a rubber seal that fits properly.
2. Buy a new garage door seal.
These gaskets are called different things: rubber gaskets, garage door seals, or garage door gaskets to name a few. There are different from garage door thresholds, which are attached the the concrete below the door to help the seal make a tight connection to the ground. Pick up one that fits your measurements and door material type.
Some garage doors come with a metal track that holds a replaceable rubber seal in place. In our Sioux City and Yankton climate, sometimes it's better to replace that rubber seal with a cold-weather silicone seal that stays pliable in cold weather (and has a better chance of surviving more than a few of our harsh winters).
3. Remove the old garage seal.
Life the door slightly and slide out the old rubber gasket from the bottom of the door. If you meet resistence, check to see if you need to bend the track slightly (a flathead screwdriver does this nicely) to smooth the path out. You may need to remove the gasket in pieces depending on its condition. Once it is removed, clean out the track with a brush or a broom. This will help the new gasket slide on more easily.
If your garage door is made of wood, you may not have a track. In this case you'll need to remove the rubber seal, which is typically nailed on, by a forceful (yet cathartic) rip. Clean off any remnants and seal the bottom wood with wood sealer. For ease of maintenance going forward, it may be in your best interest to install a new aluminum track to the bottom of the door to preserve your bottom panel from unnecessary nail holes every time you need to replace the gasket.


